Blogging
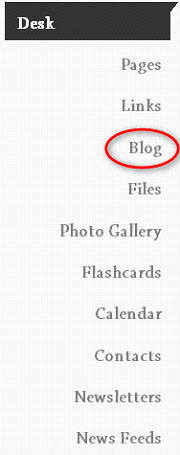
STEP 1. To create a blog entry click on “Blog” in the left bar:
STEP 2. Click on the “Add a New Blog Entry” link:

A window will appear that looks very similar to your edit window for your SchoolNotes pages.
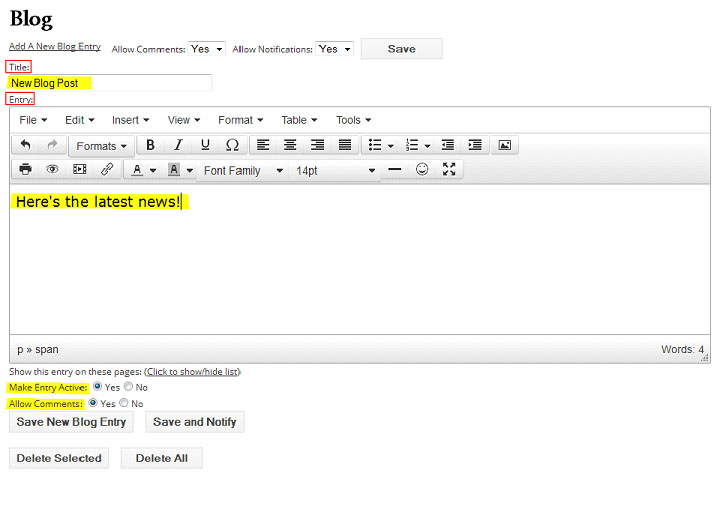
Enter a Title for your blog and add your blog content within the space provided. If you want the blog to be viewed by your parents and students you must make the blog ‘Active’. You also have the option to allow comments on your blog page. When saving your blog post you have two options, you can simply save the entry or you can click the ‘Save and Notify*’ button to send an e-mail notification to your notification list. (*Please note this will go to the notification lists of the pages you have selected this post to appear on.)
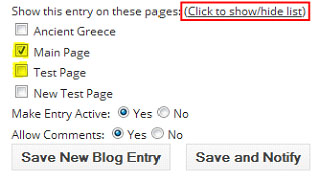
*Your blog will post to all of your SchoolNotes pages by default. To change this, click the “Click to show/hide list” link and select which pages you would like this post to appear on.
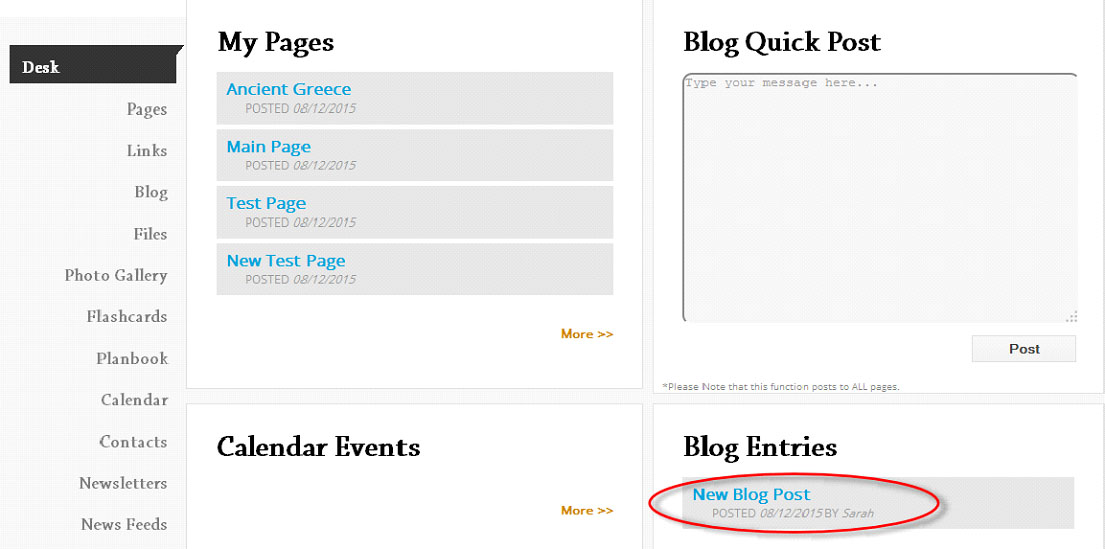
Once saved, your entry will now appear on your pages for your parents and students, as well as on your teacher desk.
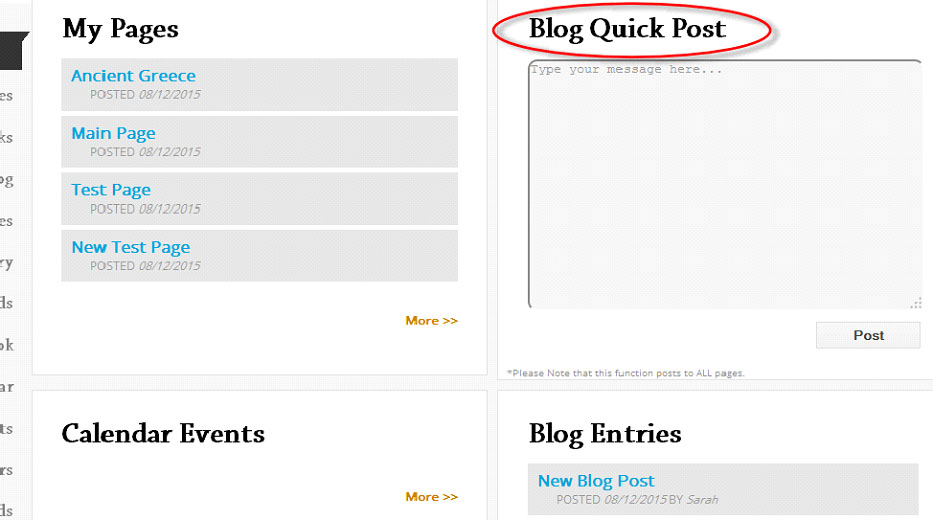
STEP 3: You can also add a “Quick Post” to your blog if you do not have the time to enter an entire blog entry. This can be done from your Desk. All you need to do is type your message in to your Quick Post box and your message will be posted to all of your SchoolNotes pages.
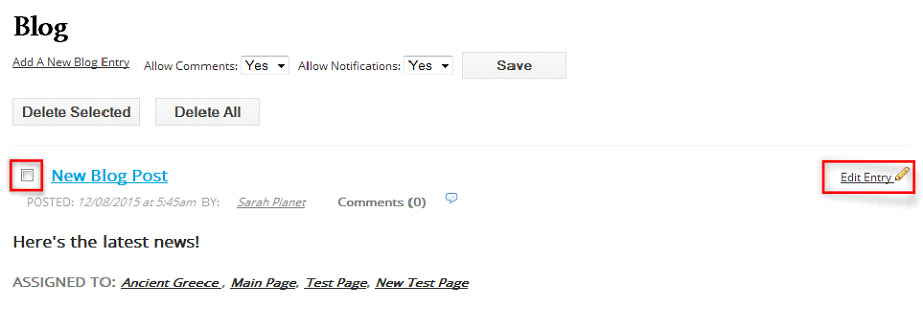
STEP 4: Once you have created your blog post you can always go back and edit it. Simply click on the “Edit Entry” icon to make changes to the entry. You can also delete any of your blog posts. To do this simply, check the box next to the post title and click ‘Delete Selected’.