Working with the Calendar
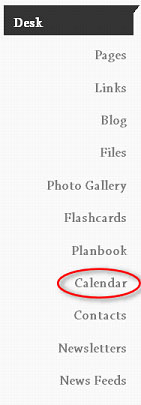
STEP 1: Once you have logged in to your account you will click on the Calendar link in the left margin:
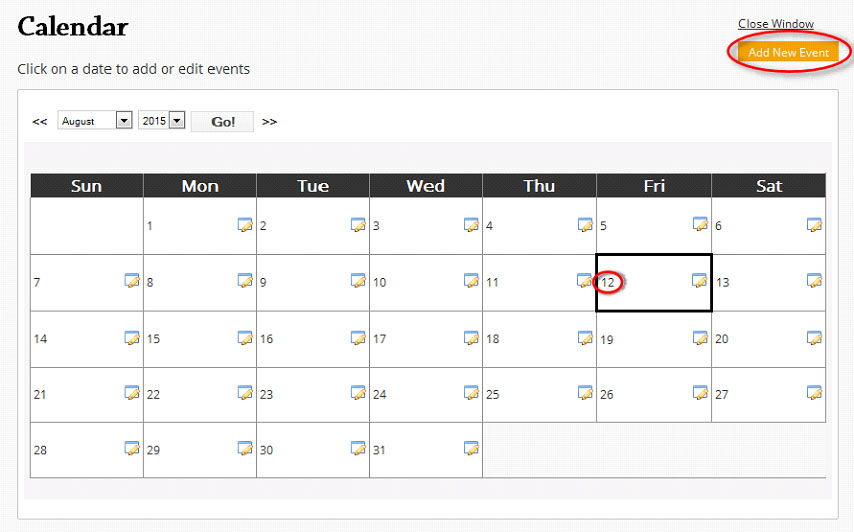
*A new Calendar window will open so be sure you do not have a Pop-Up blocker program on your computer.
STEP 2: You can select a different month and year to enter an event by using the month and year drop down menu or by clicking on the forward/backward arrows. To add an event you can click the date or the ‘Add New Event’ button:
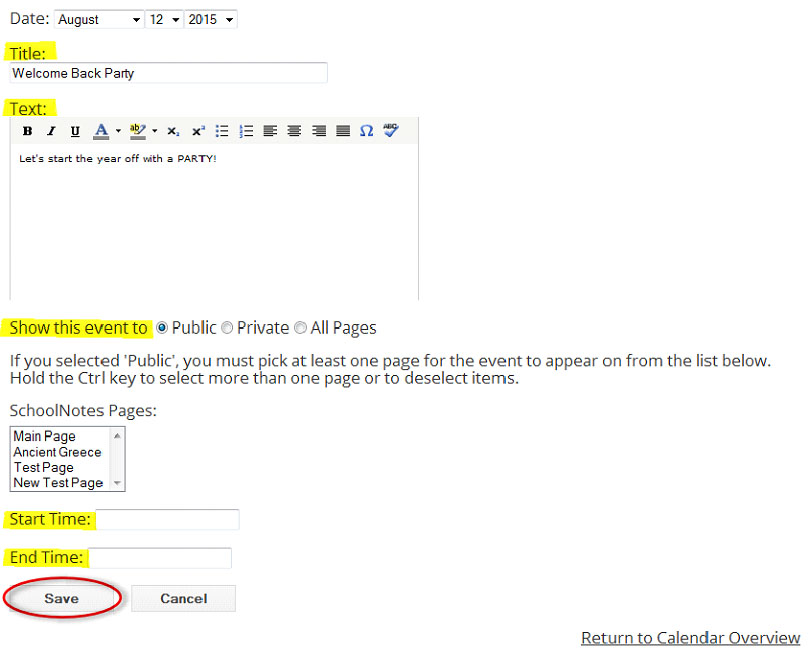
STEP 3: The window has now switched to Calendar: Add/Edit Event. Here, enter in the Title of the event you are posting for and then type in any information for that event under the “text” area. You will then select if you want this event to show to: Public/Private/All Pages
*If you select ‘Public’, you will need to be sure to select from the ‘SchoolNotes Pages’ box which of your pages you want this event to show on. (Hold the Ctrl key to select more than one page or to deselect pages.)
*If you select ‘Private’, the event will only appear for you to see.
*If you select ‘All Pages’, this event will appear on the calendar for all of your SchoolNotes pages.
You can also select a start/stop time for the event to let your parents and students know when the event is happening.
STEP 4: After you have completed your selections click on the Save button:
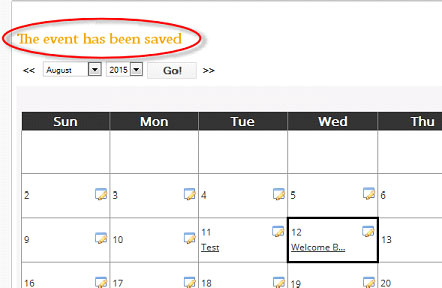
You will then see a confirmation that your event has been saved.
Premium Users can also add events to your calendar from your planbook. To do this, open up the planbook and select the Calendar icon.
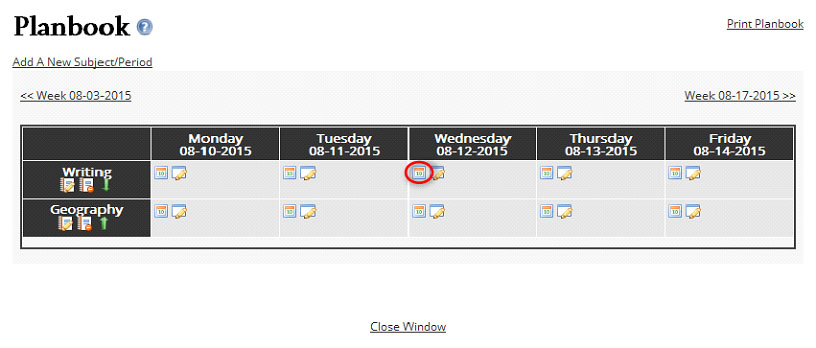
The calendar will open up and automatically populate the text area with the information that is in your planbook. You will then need to add a title, select "Show this event to" option, select the page, hit "Save" and you are all set!
You should see your future events appear on your teacher desk under "Calendar Events"