Adding Images Using "Files"
Here is a work around for not having to use a Third Party Vendor when adding images to your SchoolNotes page. Keep in mind, when you use the images the way that I am going to show you, it will take up space in your "My Files" section. To add an image to your SchoolNotes page from your computer, you will need to do the following:
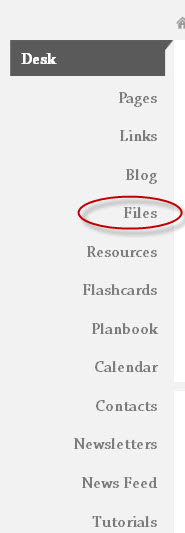
STEP 1. Click on the "Files” link in the left margin of your desk:
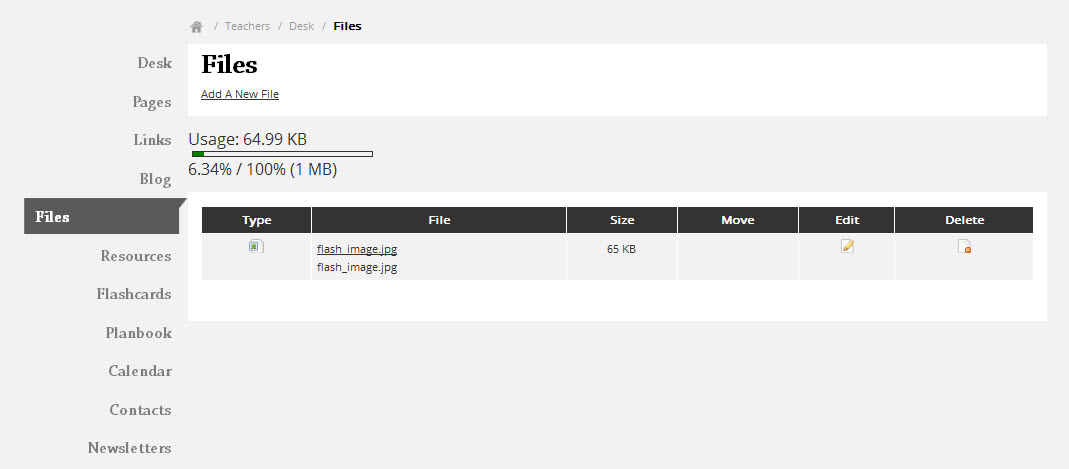
STEP 2. You will then be taken to the following page within your account:
Step 3. Click on the "Add a New File" link to add your first file. Once you click on the link, additional boxes will appear for you to fill in. You will enter in a title and browse your computer documents to locate the file. Next, select the page(s) you want this file to display on and then click "Add New File" button to save your changes.
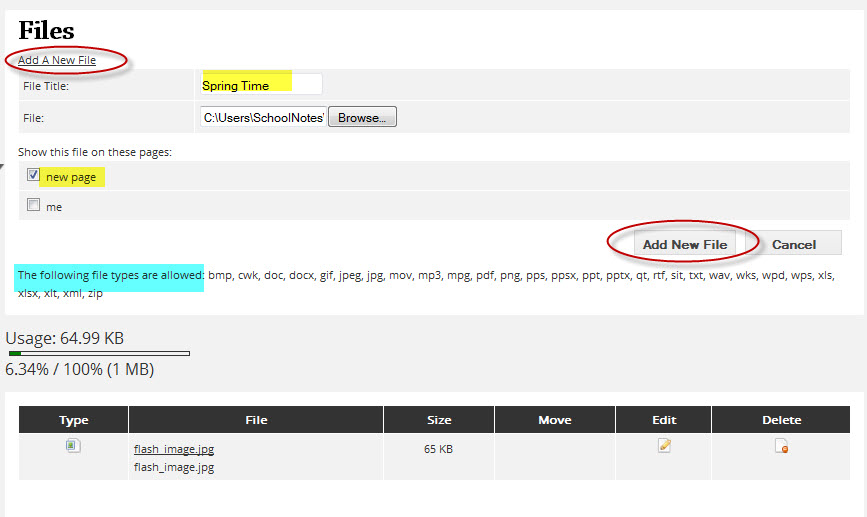
*Pay special attention to the list of files you are able to upload into your account-if you do not see it in the list, do not upload it into your page.
Once your file has been added, a list of all of your attachments will appear. By clicking on the "Edit" icon, you can make changes to the title of the document or what page(s) you want the document displayed on. Make sure to save your updates. By clicking on the "Delete" icon, you will delete the file from the page(s) it is listed on as well as from within your "Files" section.