Adding Images
When you are working with images and graphics in your SchoolNotes page, there is one very important thing you must remember – Be sure you have permission to use other people’s graphics. There are many websites out there that will allow you to directly link to an image on their site as long as you provide the proper information for the graphics when you use them on your page(s). However, there are many sites that require you to download these images to your computer and give them your own internet space (upload and host them on a website).
This can be done easily with an online program like Image Shack. There is a free and a subscription version of this online program and I have used the free one for a few years now. What this program does is it allows you to upload pictures from your computer onto their website to give them the “web space” needed to insert them into your SchoolNotes page(s). Just follow the directions to subscribe to this program and upload your images.
You can subscribe to this free image hosting program at http://my.imageshack.us/registration/
The alternative to this service would be using SchoolNotes as the image host. Keep in mind, any images added this way will take up space in your "My Files" section. See Adding Images Using “Files” for that method.
NOW LET’S GET STARTED WITH INSERTING IMAGES INTO YOUR SCHOOLNOTES PAGE!
In the below image, you will notice in the HTML Text Editor Tool Bar there is an icon that looks like a picture of a mountain. This icon represents the “Insert Image” tool you will use to add images and graphics to your web page(s).

Once you have clicked on this icon, the below window will pop open.
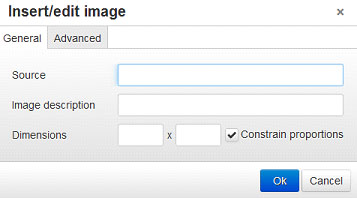
To insert the image you will need to paste the image URL into the ‘Source’ field. You can acquire the address of an image by placing your cursor over the image, right clicking and then select “Copy Image Location”. (If you are hosting the image in your SchoolNotes files simply right click on the file name and select the same, ‘Copy Image Location’.)
Feel free to add an image description. The editor will automatically import the image dimensions, you can adjust these here, or once the image has been inserted.
After you have added the information in for the image you are working with, it should look like the example below.
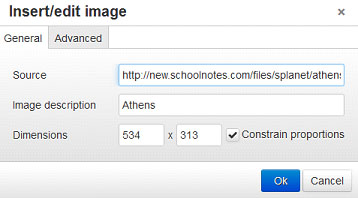
Now that all of the correct information has been entered in for your image/graphic, click the “OK” button. You should be able to see the picture you have just inserted on your page.
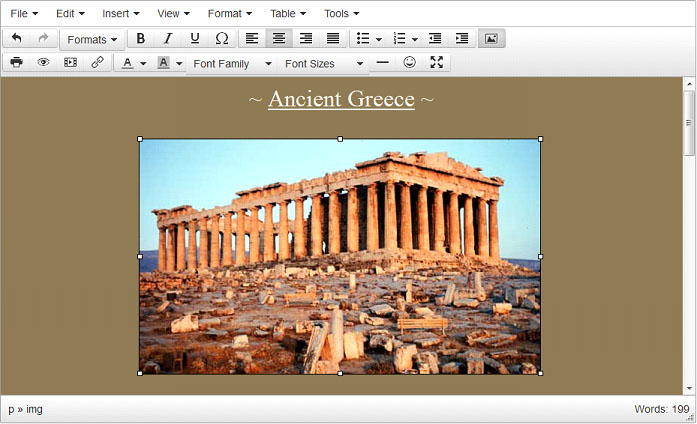
After the images have been inserted into your page you can resize it and/or cut and paste it to position the image any way you would like to in your page. To insert more images, just follow the same steps as above for each one.